Protect Your Car Interior with Moro Auto Spa Window Tinting Solutions
Protect Your Car Interior with Moro Auto Spa Window Tinting Solutions
Blog Article
Your Comprehensive Guide to DIY Home Window Tinting: Tips and Tricks
Embarking on a DIY home window tinting project presents a possibility to boost both the functionality and visual appeals of your space. Prior to getting started on this endeavor, it is crucial to browse the complexities of local tinting regulations and pick a proper film that aligns with your goals.
Understanding Window Tinting Laws
Navigating the complex landscape of home window tinting laws is vital for any kind of do it yourself enthusiast seeking to boost their automobile's appearances and comfort. Each state in the U.S. has specific policies regarding the allowable levels of tint on numerous windows, which can considerably impact your decision-making procedure.
Usually, these regulations dictate the optimum permitted Visible Light Transmission (VLT) percentage, which refers to the amount of light that can go through the tinted home windows. As an example, some states allow just a specific percent of tint on the front windshield, while enabling darker tones on back windows. Compliance with these policies is vital, as failure to stick can result in fines or the requirement to remove the tint completely.
Furthermore, there are frequently differences in between traveler vehicles and business cars, with various regulations using to each group. It's a good idea to consult your local Department of Electric motor Cars or equal authority to gather exact info tailored to your place. Comprehending these laws not just makes certain legal compliance however additionally improves security by preserving exposure and stopping possible hazards while driving.
Selecting the Right Color Movie
Selecting the suitable color movie is a crucial action in the DIY window tinting process, as it straight affects both the appearance and capability of your lorry's windows. Several variables need to assist your selection, including the kind of film, its legal conformity, and your desired outcomes.
First, think about the various types of tint movies readily available: colored, metalized, ceramic, and hybrid. Colored films provide a fundamental degree of privacy and warm decrease yet might fade with time. Metalized films use boosted warmth denial and toughness but can disrupt digital signals. Ceramic movies, while more expensive, provide superior warmth resistance and UV protection without signal disturbance.
Following, ensure that the film sticks to regional regulations concerning noticeable light transmission (VLT) percentages. Compliance with these legislations is vital to stay clear of fines and ensure safety and security.
Vital Tools for DIY Tinting
Having selected the best tint movie for your home windows, the following step includes collecting the essential tools to guarantee a successful setup. The primary tools you will need consist of an energy knife or a razor blade, which is necessary for cutting the color film to the desired dimension. A squeegee is additionally vital, as it helps remove air bubbles and smooth out the movie throughout application.
Additionally, think about utilizing a warm gun or hairdryer, as this can aid mold and mildew the color film to the contours of the home window and promote adherence. Handwear covers are suggested to stay clear of fingerprints on the movie throughout installment. By collecting these essential devices, you will certainly be well-prepared to tackle your DIY home window tinting project successfully.
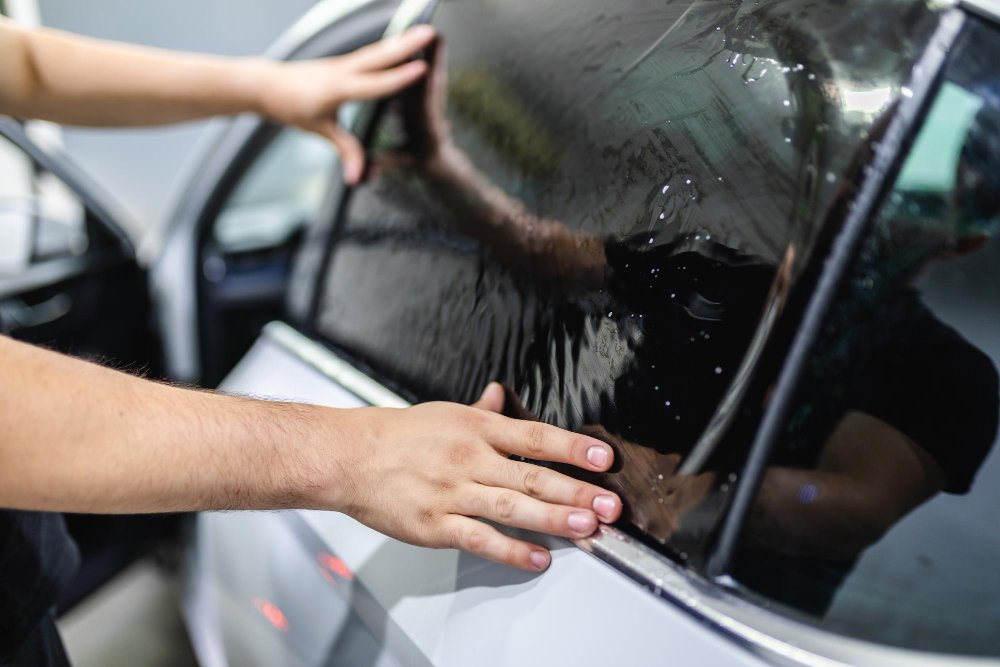
Step-by-Step Application Refine
Begin by thoroughly cleaning the window surface area to make sure ideal attachment of the color movie. Make use of a glass cleaner and a lint-free cloth to eliminate any type of dirt, dirt, or grease. When the home window is clean, a knockout post gauge the tint film against the home window, permitting a small overlap on all sides. Cut the film as necessary with a sharp utility blade for an exact fit.
Following, prepare a remedy of water and a couple of decreases of baby hair shampoo in a spray container. Lightly spray the home window surface and the glue side of the film. This option will enable rearranging throughout application. Meticulously line up the movie with the top of the window, ensuring it is right. Press the film against the glass, beginning with the center and working outward to get rid of air bubbles. Use a squeegee to smooth the movie, using firm, also pressure.
Trim any excess movie from the sides with your utility knife. Allow the tint to treat for at the very least 24 hours without rolling down the home windows. This step is important for making certain a lasting application. Comply with these actions diligently for ideal results in your do it yourself window tinting job.
Upkeep and Treatment Tips
It's recommended to wait at the very least a week after setup before cleansing your home windows to permit the glue to totally heal. Throughout this initial period, avoid rolling down the windows to avoid any type of damages to the tint.
Routine upkeep includes inspecting the edges of the color for any indicators of gurgling or raising. If you observe any type of issues, it's ideal to resolve them immediately to avoid more deterioration. In addition, be careful with the use of window therapies, such as shades or drapes, as they can produce warmth that may compromise the color gradually.
Conclusion
To check over here conclude, undertaking a do it yourself window tinting job requires careful consideration of neighborhood guidelines, selection of proper tint movies, and the usage of vital tools. A systematic application process makes certain optimal outcomes, while normal maintenance contributes to the durability of the color - Moro Auto Spa Window Tinting. By adhering to these guidelines, people can attain both aesthetic enhancement and boosted personal privacy in their spaces, making DIY home window tinting a beneficial endeavor
Report this page